Understanding however guests are getting to your website, what they're looking for and the way they're interacting along with your content is crucial if you wish to become a productive blogger. Google Analytics (GA) could be a nice product able to answer for all those queries. most significantly it’s completely FREE and incredibly easy to set up!

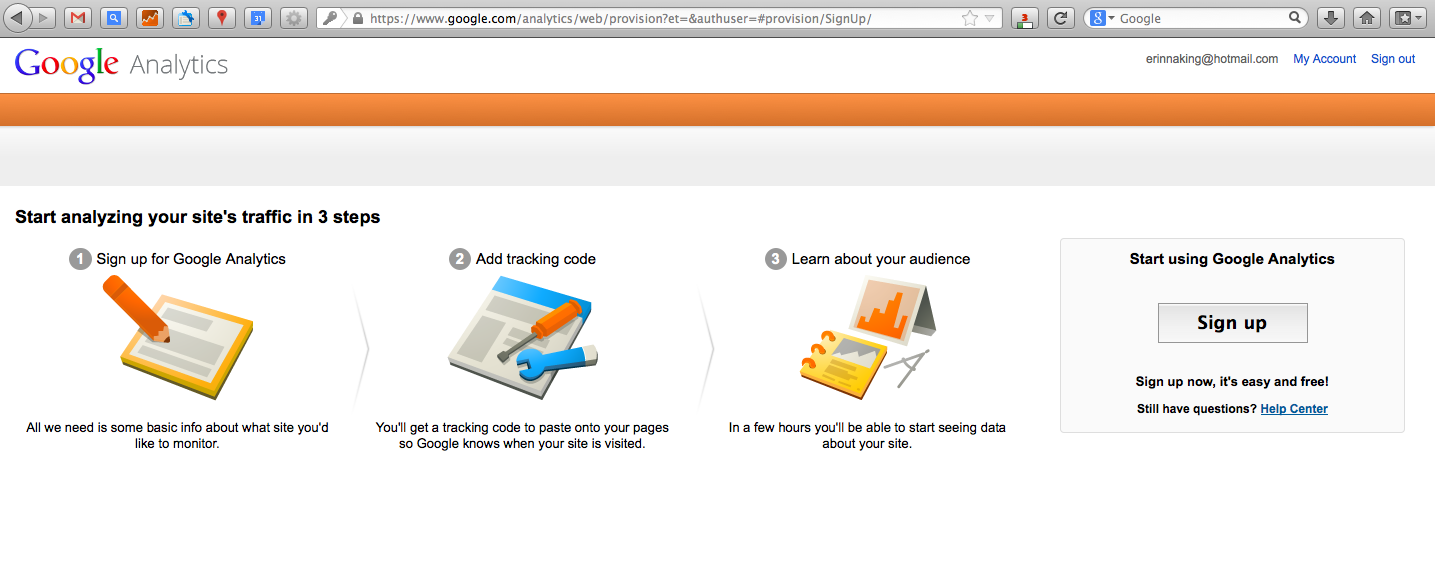
This article will step by step guide you through GA setup on your WordPress site/ blog. The first thing you can do is, register or signup on Google account then Sign Up to Google Analytics. In order to do that, visit the Google Analytics Sign Up page -> log in with your Google account login username and password. You must land on a page which looks similar to this:
CREATE Google Analytics TRACKING CODE
STEP 1. Set up your account
Now you are on the tracking code setting up page. It looks like on the picture below:
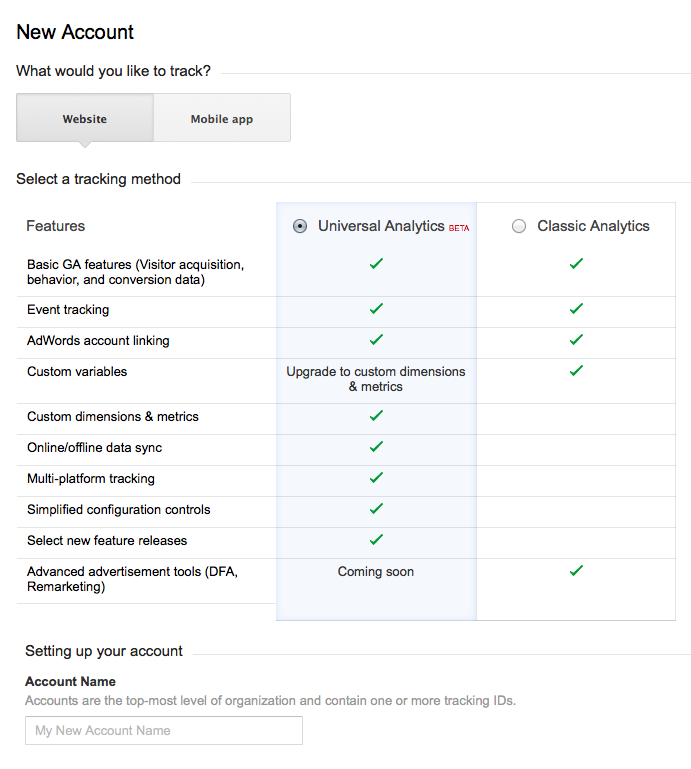
Since you would like to make a tracking for your WordPress site, ‘website’ because the property to track. Then you'll be able to choose between a Classic and Universal Analytics. Within the time of writing, Universal Analytics is in a beta version, however it's already stable and can offer you more choices to settle on from within the future, so I extremely suggest to go for this feature, but if you favor the Classic version, the selection won’t influence further steps in the article.
STEP 2: Set up your property
Now, it’s time to share more information about your WordPress site- since it’s pretty self-explanatory- provide Website URL (if your site is available under www. version then provide that bit as well), then choose industry category and reporting time zone and hit Get Tracking ID button. A pop-up window with Google Terms and Conditions will appear- click ‘I agree” and you will be presented with you tracking code, similar to this one:
STEP 3. Select and copy the code
Now, Google ask you to copy and paste this code into every webpage you want to track. Do not close this page, leave it open and go to your website in a new tab (in this way, you can always get back to it).
INSTALL GOOGLE ANALYTICS TRACKING CODE ON YOUR SITE
Since your have a WordPress site, the good news is that installing the tracking code is very easy. There are a few ways to install it and you can choose from one of the following options:
- Installing a plugin
- Adding code to HEADER.PHP
- Adding code to functions.php
1. Installing the Plugin
You need to add Google Analytics tracking code to each page on your site. Next, install the plugin, will help you to do that in a very quick and easy way. There are quite a few plugins available although I recommend this plugin as it is very light and quite easy. To install that plugin, go to your WordPress dashboard Admin Panel, then select Plugins >Add New and type Google Analytics. There will be many search results, but select the Google Analytics created by Kevin Sylvestre - install it and clickt activate it. Then go to Settings> Google Analytics. Here you need to paste the property ID which can be found within your code created in step 5- it has this format ‘UA-XXXXXXXX-X’
2. Add that code to header.php
If you don’t want to install too many plugins on your site (too many plugins, can slow down your website), you can add the tracking code to the header file of your site. Head section (in header file) is used on every single page across your site. In order to add the code, go to Appearance> Editor and find your header.php file on the right- hand side, select the file and paste all code which you copied just before the </head> tag and click on Update the File button.
3. Add code to functions.php
I recommend to go for this solution only if you have experience with PHP and you really know what you are doing! In order to add the code, select Appearance> Editor and find functions.php file on the right side and click on the file. Then copy the code below and paste it at the end of the file.
// Include the Google Analytics Tracking Code (ga.js)
// @ http://code.google.com/apis/analytics/docs/tracking/asyncUsageGuide.html
function google_analytics_tracking_code(){
$propertyID = 'UA-XXXXX-X'; // GA Property ID
if ($options['ga_enable']) { ?&gt;
&lt;script type="text/javascript"&gt;
var _gaq = _gaq || [];
_gaq.push(['_setAccount', '&lt;?php echo $propertyID; ?&gt;']);
_gaq.push(['_trackPageview']);
(function() {
var ga = document.createElement('script'); ga.type = 'text/javascript'; ga.async = true;
ga.src = ('https:' == document.location.protocol ? 'https://ssl' : 'http://www') + '.google-analytics.com/ga.js';
var s = document.getElementsByTagName('script')[0]; s.parentNode.insertBefore(ga, s);
})();
&lt;/script&gt;
&lt;?php }
}
// include GA tracking code before the closing head tag
add_action('wp_head', 'google_analytics_tracking_code');
// OR include GA tracking code before the closing body tag
// add_action('wp_footer', 'google_analytics_tracking_code');
After that do not forget replace the UA-XXXXX-X with your property ID.