This post will teach us how to use the Ionic framework to construct a mobile application. Using HTML, CSS, and JavaScript, we can create high-quality mobile applications using Ionic, an open-source UI tool that integrates with well-known frameworks like Angular, React, and Vue.

Both the iOS and Android platforms are supported.
Pre-requisite
To start with Ionic Framework, the only requirement is a Node & npm environment, Andriod Studio, command line interface, and Visual Studio code as a code editor.
Step 1. Install ionic
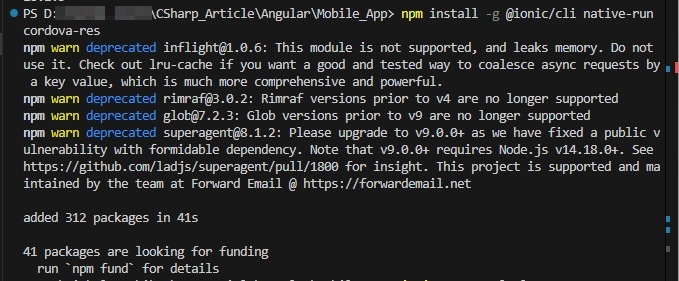
The first step is we need to install ionic tooling. Run the below command to install ionic CLI.
- native-run: Used to run native binaries on devices and simulators/emulators.
- cordova-res: Used to generate icons and splash screens for the native app.
npm install -g @ionic/cli native-run cordova-res
Step 2. Create an Application.
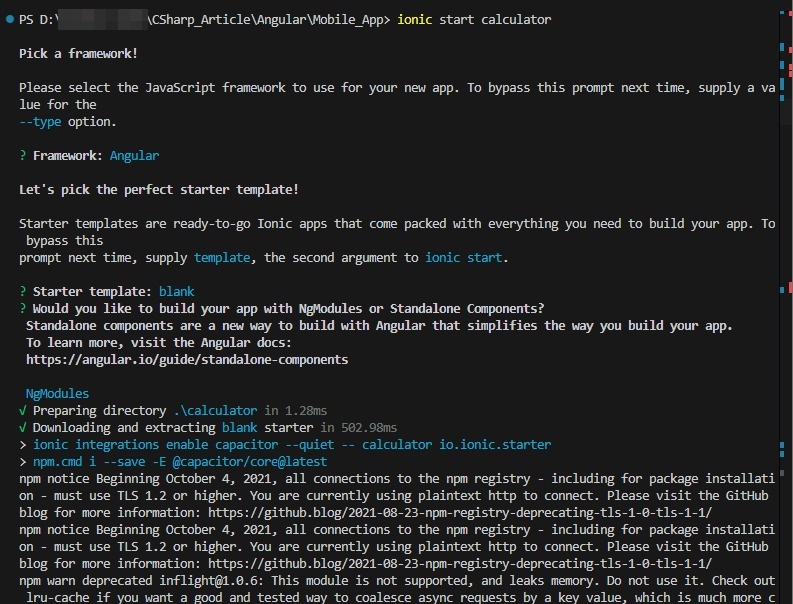
Run the below command to create an ionic application. We will create a calculator for this article’s explanation. Check out the below screen prints for command execution.
ionic start calculator
Step 3. Write an Application Code
home.page.html
<ion-header [translucent]="true">
<ion-toolbar>
<ion-title>
Calculator
</ion-title>
</ion-toolbar>
</ion-header>
<ion-content [fullscreen]="true">
<ion-header collapse="condense">
<ion-toolbar>
<ion-title size="large">Blank</ion-title>
</ion-toolbar>
</ion-header>
<div id="container">
<div class="jumbotron col-sm-4 p-2 m-0 bg-inverse mx-auto" style="border: 1px solid lightgray; border-radius: 2%;">
<label style="font-weight: bolder;">Input</label>
<div class="input-group input-group-sm col-sm-12 m-0 p-0">
<div class="col-sm-12 form-control text-lg-right" type="text">{{input}}</div>
</div>
<label style="font-weight: bolder;">Result</label>
<div class="input-group input-group-sm col-sm-12 m-0 p-0">
<div class="form-control text-sm-right" type="text">{{result}}</div>
</div>
<div class="col-sm-12 p-1 m-0">
<button class="btn btn-info col-sm-6" type="button" (click)="allClear()">C</button>
<button class="btn btn-warning col-sm-3" type="button" (click)="clear()">x</button>
<button class="btn btn-secondary col-sm-3" type="button" (click)="pressOperator('/')">/</button>
</div>
<div class="col-sm-12 p-1 m-0">
<button class="btn btn-outline-secondary col-sm-3 p-1" type="button" (click)="clickNum('7')">7</button>
<button class="btn btn-outline-secondary col-sm-3 p-1" type="button" (click)="clickNum('8')">8</button>
<button class="btn btn-outline-secondary col-sm-3 p-1" type="button" (click)="clickNum('9')">9</button>
<button class="btn btn-secondary col-sm-3 p-1" type="button" (click)="pressOperator('*')">X</button>
</div>
<div class="col-sm-12 p-1 m-0">
<button class="btn btn-outline-secondary col-sm-3 p-1" type="button" (click)="clickNum('4')">4</button>
<button class="btn btn-outline-secondary col-sm-3 p-1" type="button" (click)="clickNum('5')">5</button>
<button class="btn btn-outline-secondary col-sm-3 p-1" type="button" (click)="clickNum('6')">6</button>
<button class="btn btn-secondary col-sm-3 p-1" type="button" (click)="pressOperator('-')">-</button>
</div>
<div class="col-sm-12 p-1 m-0">
<button class="btn btn-outline-secondary col-sm-3 p-1" type="button" (click)="clickNum('1')">1</button>
<button class="btn btn-outline-secondary col-sm-3 p-1" type="button" (click)="clickNum('2')">2</button>
<button class="btn btn-outline-secondary col-sm-3 p-1" type="button" (click)="clickNum('3')">3</button>
<button class="btn btn-secondary col-sm-3 p-1" type="button" (click)="pressOperator('+')">+</button>
</div>
<div class="col-sm-12 p-1 m-0">
<button class="btn btn-outline-secondary col-sm-3 p-1" type="button" (click)="clickNum('.')">.</button>
<button class="btn btn-outline-secondary col-sm-3 p-1" type="button" (click)="clickNum('0')">0</button>
<button class="btn btn-success col-sm-6 p-1" type="button" (click)="getAnswer()">=</button>
</div>
</div>
</div>
</ion-content>
home.page.ts
import { Component } from '@angular/core';
@Component({
selector: 'app-home',
templateUrl: 'home.page.html',
styleUrls: ['home.page.scss'],
})
export class HomePage {
input: string = '';
result: string = '';
clickNum(num: string) {
// Do Not Allow . more than once
if (num == ".") {
if (this.input != "") {
const lastNum = this.getLastOperand();
console.log(lastNum.lastIndexOf("."));
if (lastNum.lastIndexOf(".") >= 0) return;
}
}
// Do Not Allow 0 at beginning.
// Javascript will throw Octal literals are not allowed in strict mode.
if (num == "0") {
if (this.input == "") {
return;
}
const PrevKey = this.input[this.input.length - 1];
if (PrevKey === '/' || PrevKey === '*' || PrevKey === '-' || PrevKey === '+') {
return;
}
}
this.input = this.input + num;
this.calcAnswer();
}
getLastOperand() {
let pos: number;
console.log(this.input);
pos = this.input.toString().lastIndexOf("+");
if (this.input.toString().lastIndexOf("-") > pos) pos = this.input.lastIndexOf("-");
if (this.input.toString().lastIndexOf("*") > pos) pos = this.input.lastIndexOf("*");
if (this.input.toString().lastIndexOf("/") > pos) pos = this.input.lastIndexOf("/");
console.log('Last ' + this.input.substr(pos + 1));
return this.input.substr(pos + 1);
}
pressOperator(op: string) {
// Do not allow operators more than once
const lastKey = this.input[this.input.length - 1];
if (lastKey === '/' || lastKey === '*' || lastKey === '-' || lastKey === '+') {
return;
}
this.input = this.input + op;
this.calcAnswer();
}
clear() {
if (this.input != "") {
this.input = this.input.substr(0, this.input.length - 1);
}
}
allClear() {
this.result = '';
this.input = '';
}
calcAnswer() {
let formula = this.input;
let lastKey = formula[formula.length - 1];
if (lastKey === '.') {
formula = formula.substr(0, formula.length - 1);
}
lastKey = formula[formula.length - 1];
if (lastKey === '/' || lastKey === '*' || lastKey === '-' || lastKey === '+' || lastKey === '.') {
formula = formula.substr(0, formula.length - 1);
}
console.log("Formula " + formula);
this.result = eval(formula);
}
getAnswer() {
this.calcAnswer();
this.input = this.result;
if (this.input == "0") this.input = "";
}
}
TypeScript
home.page.scss
#container {
text-align: center;
position: absolute;
left: 0;
right: 0;
top: 50%;
transform: translateY(-50%);
}
#container strong {
font-size: 20px;
line-height: 26px;
}
#container p {
font-size: 16px;
line-height: 22px;
color: #8c8c8c;
margin: 0;
}
#container a {
text-decoration: none;
}
.col-sm-3 {
flex: 0 0 auto;
width: 23%;
margin: 1%;
}
@media (min-width: 576px) {
.col-sm-3 {
flex: 0 0 auto;
width: 23%;
margin: 1%;
}
}
.form-control{
min-height: 30px;
}
Step 4. Add required packages.
We can add third-party packages as per requirements. Here for this demo, I have used Bootstrap to make the UI smooth. Run the below command to install the Bootstrap.
Move to the application path using the below command.
cd calculator
npm i bootstrap bootstrap-icons
ng add @ng-bootstrap/ng-bootstrap
Import bootstrap to styles.scss file located at the root level

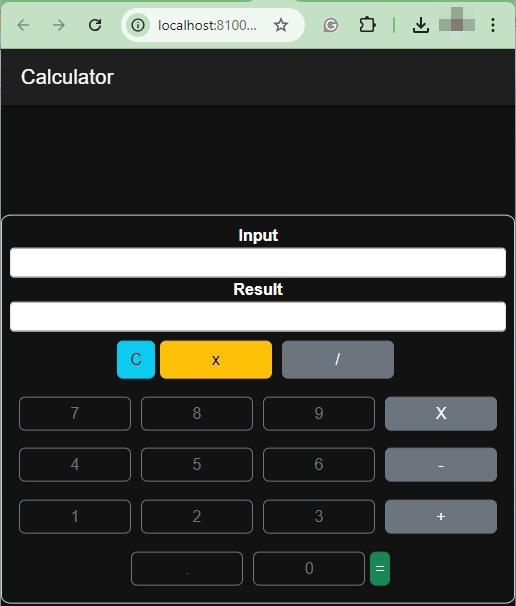
Step 5. Run the Application with Browser.
Run the below command to execute the application in a browser.
ionic serve
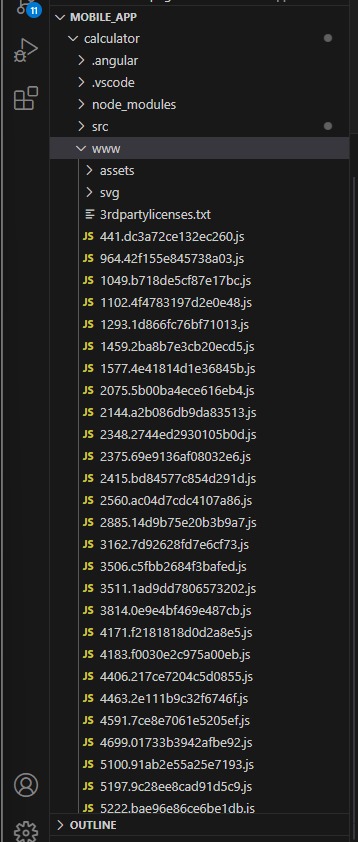
Once the application starts running in the browser you can check the folder structure and check the www folder created/generated. The www is the folder where all JavaScript code is generated for the application. Like dist folder in an angular application here it is a www. Check out the below screen print for a sample.
Step 6. Install the Android SDK.
Once all application runs on the browser, we now need to run the same application on mobile devices like iOS or Android. For this article demonstration, I’m using an Android device. So I’ll generate the .apk file.
Now, let’s see how we can generate the APK file.
Let’s first run the below command in the terminal of the application path to generate apk.
ionic capacitor build android
If Android Studio is installed it will show a response like the below screen print, otherwise, you need to install Android Studio.
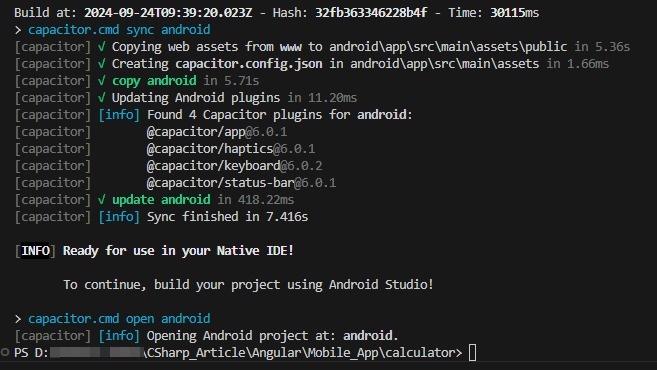
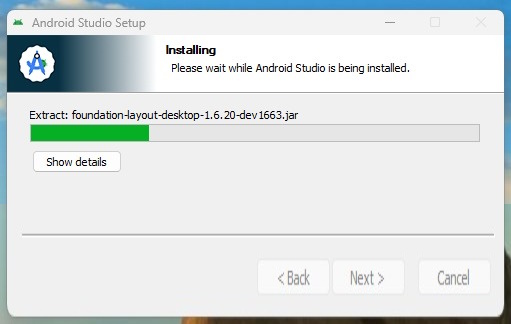
On My machine, I have already Android Studio installed. But you can get Android Studio from the mentioned path and get installed like the below screen print
https://developer.android.com/studio
Android Studio SDK path. Sometimes it takes time to download all required packages and it throws errors like the below screen print.
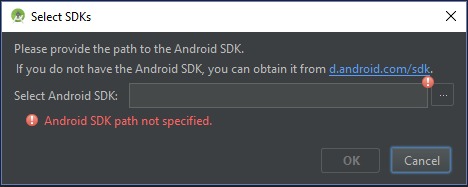
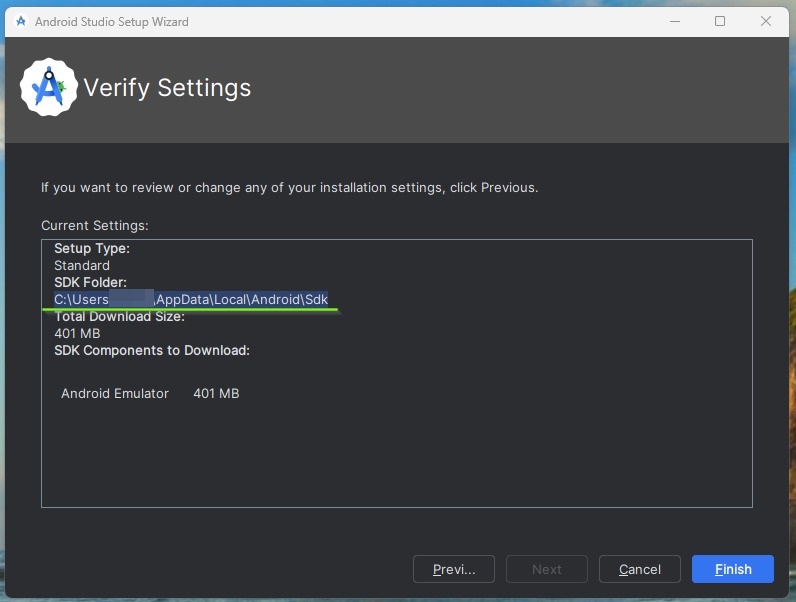
You can just close the error popup and close the project. It will start downloading pending packages and once all required packages are installed it will show a screen like below with the SDK path.
Step 7. Build the APK.
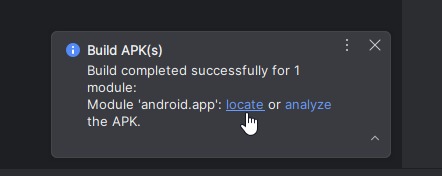
Once the Android studio setup is done we can build apk file. To build apk file go to android studio -> build -> Build App Bundle(s) / APK(s) -> Build APK(s)
Once APK generated you can click on locate and see the apk file.
Let’s install the APK file on an Android device.
Let’s install the APK file on an Android device.

Installed calculator application.
Let’s run application on the Android mobile device.
Conclusion
In this article, we have learned about the ionic framework. We can use it to create a mobile application of angular application. It supports a cross-platform, we can create an app for Android or ios from the source of angular application. We can even use the core logic same for web, desktop, and mobile applications like services, and API calls and only generate different UI components as per respective like desktop, mobile, or web.