What exactly is Angular routing?
Angular routing is a useful feature that allows you to create single-page applications (SPAs) by allowing navigating between different views or components within your Angular application without having to reload the entire page. Angular routing, as opposed to traditional server-side navigation, which results in a new HTTP request and a whole new page for each link or action, provides a seamless and dynamic user experience within the same page. Routing is extremely important in online development, especially in the context of single-page applications (SPAs) and current web frameworks.

Navigation in a Single-Page Application (SPA)
The program runs within a single HTML page with SPAs, and routing allows users to navigate between different views or areas of the application without having to reload the entire page. This leads in a more fluid and responsive user experience.
Loading of Dynamic Content
By allowing components or views to be loaded asynchronously as needed, routing enables dynamic content loading. This is especially significant for large applications with a high number of components because it aids in improving the first page load time.
enhanced user experience
Routing adds to a more pleasant and seamless user experience. Users can move between portions of the application with smooth transitions, giving the application the appearance of a regular desktop application.
Structure of Modular Application
Routing encourages the application to have a modular structure. Each route can be linked to a different component or feature, resulting in a better ordered and maintainable codebase. Let's start with a basic blog project to learn about routing in Angular.
Step 1. Create a New Angular Project
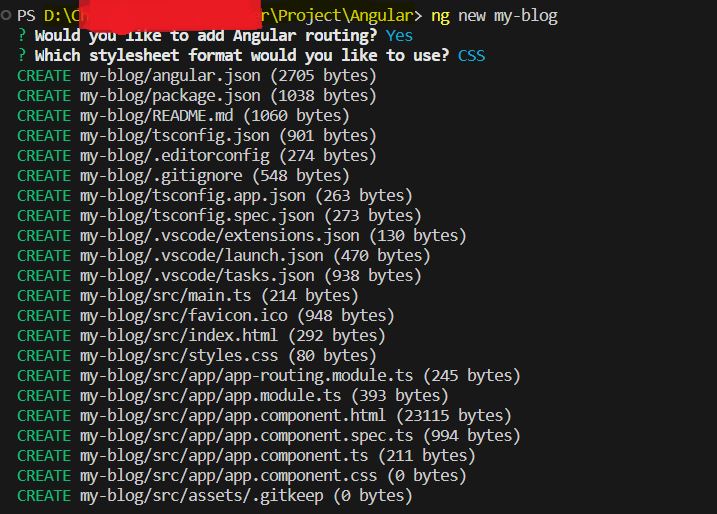
ng new my-blog
Follow the prompts to set up your project. You can choose options like stylesheets format (CSS, SCSS, etc.) and whether you want Angular routing or not.
Step 2. Navigate to the Project Directory
cd my-blog
For Example path. D:\CSharpCorner\Project\Angular which contain Project my-blog we need to navigate into the Folder by using cd command in Terminal.
cd D:\CSharpCorner\Project\Angular\my-blog.
Step 3. Create Components
ng generate component home
ng generate component about
ng generate component Services
ng generate component Blog
Step 4. Set Up Routes
Open the src/app/app-routing.module.ts file, which Angular CLI generates if you choose routing during project creation. Configure your routes in this file.
import { NgModule } from '@angular/core';
import { RouterModule, Routes } from '@angular/router';
import { HomeComponent } from './home/home.component';
import { AboutComponent } from './about/about.component';
import { ServicesComponent } from './services/services.component';
import { BlogComponent } from './blog/blog.component';
const routes: Routes = [
{ path: '', component: HomeComponent },
{ path: 'about', component: AboutComponent },
{ path: 'services', component: ServicesComponent },
{ path: 'blog', component: BlogComponent },
];
@NgModule({
imports: [RouterModule.forRoot(routes)],
exports: [RouterModule]
})
export class AppRoutingModule { }
Step 5. Update App Module
Open src/app/app.module.ts and make sure to import and include the AppRoutingModule.
import { NgModule } from '@angular/core';
import { BrowserModule } from '@angular/platform-browser';
import { AppRoutingModule } from './app-routing.module';
import { AppComponent } from './app.component';
import { HomeComponent } from './home/home.component';
import { AboutComponent } from './about/about.component';
import { ServicesComponent } from './services/services.component';
import { BlogComponent } from './blog/blog.component';
@NgModule({
declarations: [
AppComponent,
HomeComponent,
AboutComponent,
ServicesComponent,
BlogComponent
],
imports: [
BrowserModule,
AppRoutingModule
],
providers: [],
bootstrap: [AppComponent]
})
export class AppModule { }
Step 6. Update App Component HTML
Update src/app/app.component.html to include the <router-outlet> directive.
<!-- app.component.html -->
<header>
<nav>
<ul>
<li><a routerLink="/" routerLinkActive="active">Home</a></li>
<li><a routerLink="/about" routerLinkActive="active">About</a></li>
<li><a routerLink="/services" routerLinkActive="active">Services</a></li>
<li><a routerLink="/blog" routerLinkActive="active">Blog</a></li>
</ul>
</nav>
</header>
<main>
<!-- Your router-outlet or other content goes here -->
<router-outlet></router-outlet>
</main>
JavaScript
Step 7. Update App Component CSS
Update src/app/app.component.css file.
/* styles.scss */
/* Reset some default margin and padding for the page */
body, h1, h2, h3, p {
margin: 0;
padding: 0;
}
/* Apply a basic style to the header */
header {
background-color: #333;
color: white;
padding: 10px 20px;
display: flex;
justify-content: space-between;
align-items: center;
}
/* Style the logo */
.logo img {
height: 40px; /* Adjust the height as needed */
}
/* Style the navigation menu */
nav ul {
list-style: none;
display: flex;
}
nav ul li {
margin-right: 20px;
}
nav ul li a {
text-decoration: none;
color: white;
font-weight: bold;
font-size: 16px;
transition: color 0.3s ease-in-out;
}
nav ul li a:hover {
color: #ffcc00; /* Change to your desired hover color */
}
/* Apply some spacing for the main content */
main {
padding: 20px;
}
Step 8. Serve the Application
Run the application using the following command.
ng serve -o
You should see your basic Angular app with routing in action.
Step 9. Test Navigation
Click on the "Home" and "About" links to see the content of the corresponding components being displayed without full page reloads.
Summary
Angular routing enhances user experience in SPAs by enabling seamless navigation.Routing allows for dynamic content loading, optimizing performance.A modular application structure is encouraged through the association of routes with specific components.
The provided steps demonstrate the creation of a simple blog project with Angular routing.
If you encounter any issues or have further questions, feel free to let me know, and I'll be glad to assist.
Thank you for reading, and I hope this post has helped provide you with a better understanding of Routing in Angular.
"Keep coding, keep innovating, and keep pushing the boundaries of what's possible.
Happy Coding.